
Sadly, RancherOS is no longer available on Vagrant so dipping your toes in Rancher is a bit less easy. Or is it? The folks are Rancher are suggesting you use Docker-machine, a really nice command line tool for provisioning and managing Docker hosts! If you are used to Vagrant you already have a bit of a head start on getting to grips with Docker Machine.
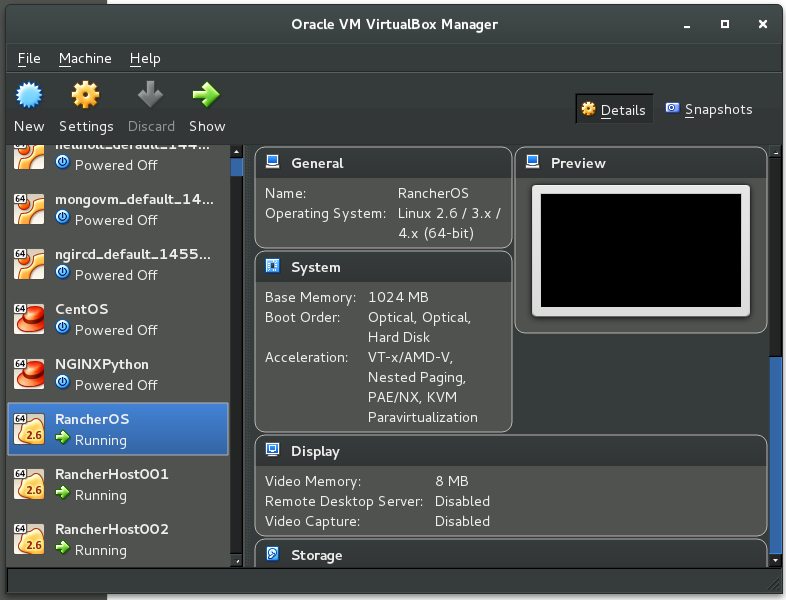
What’s best is that we are going to do this in the comfort of our own VirtualBox installation.
This is a simple walk-through of using Rancher, getting ourselves familiar with Docker-machine and deploying catalogue stacks on Docker hosts.
Creating our Rancher Server
We’ll start by making or brand new Rancher Server - this will be our go to place for container Orchestration and Scheduling, with docker-machine this is fairly straightforward.
docker-machine create -d virtualbox --virtualbox-boot2docker-url https://releases.rancher.com/os/latest/rancheros.iso RancherOS
Now that we have a machine to run our server on, we can install Rancher server with two simple steps:
First, set the host to be target of your docker commands:
eval $(docker-machine env RancherOS)
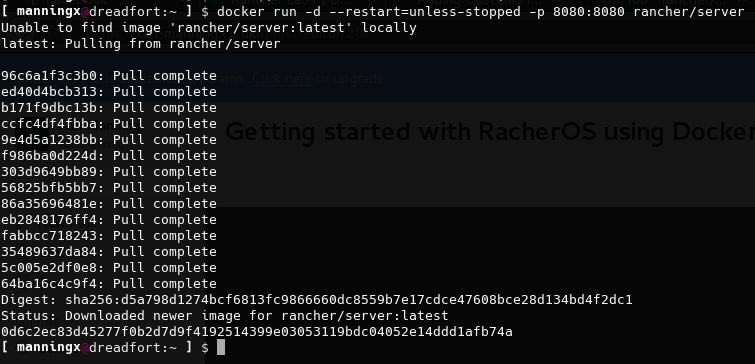
Next, install Rancher/Server on to this machine:
docker run -d --restart=unless-stopped -p 8080:8080 rancher/server
This might take a while but the standard output will be shown:
Now, let’s log in to our machine. To find out the IP address of the machine run the following:
docker-machine ip RancherOS
If this is the first and only machine you have run with Docker-Machine then it will likely be 192.168.99.100.

Let’s check out our machine http://192.168.99.100:8080
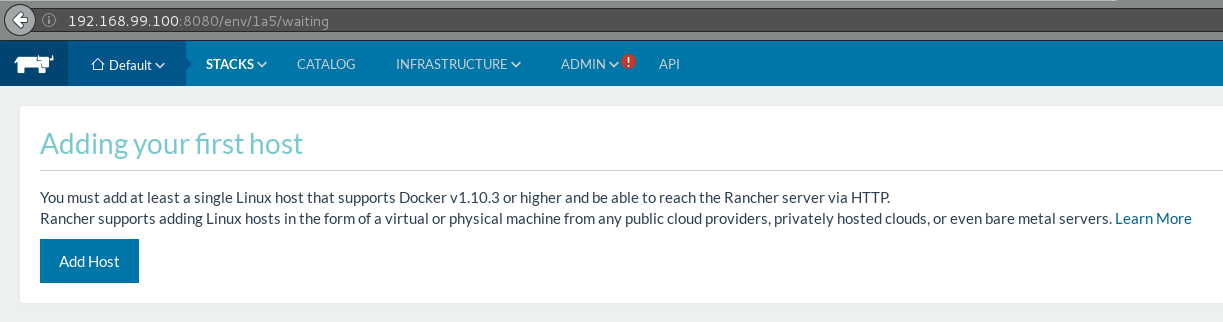
You will notice the first thing we are asked to do is to add our first host, OK, so let’s proceed to create 2 more hosts!
Adding Rancher Hosts
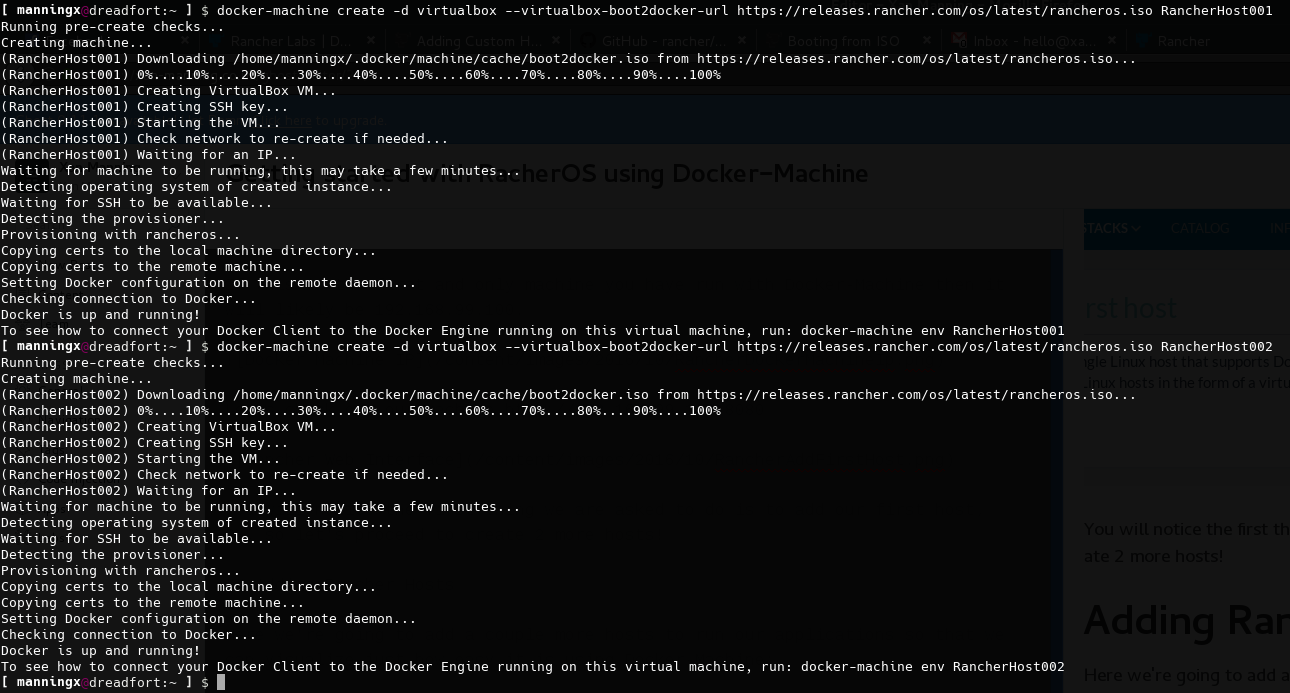
Here we’re going to add a couple more hosts to run our applications so that we can visualize just how easy it is using Docker-Machine:
docker-machine create -d virtualbox --virtualbox-boot2docker-url https://releases.rancher.com/os/latest/rancheros.iso RancherHost001 && \
docker-machine create -d virtualbox --virtualbox-boot2docker-url https://releases.rancher.com/os/latest/rancheros.iso RancherHost002
The above will provide you with two new, blank, RancherOS machines that we can add to our Rancher Server.
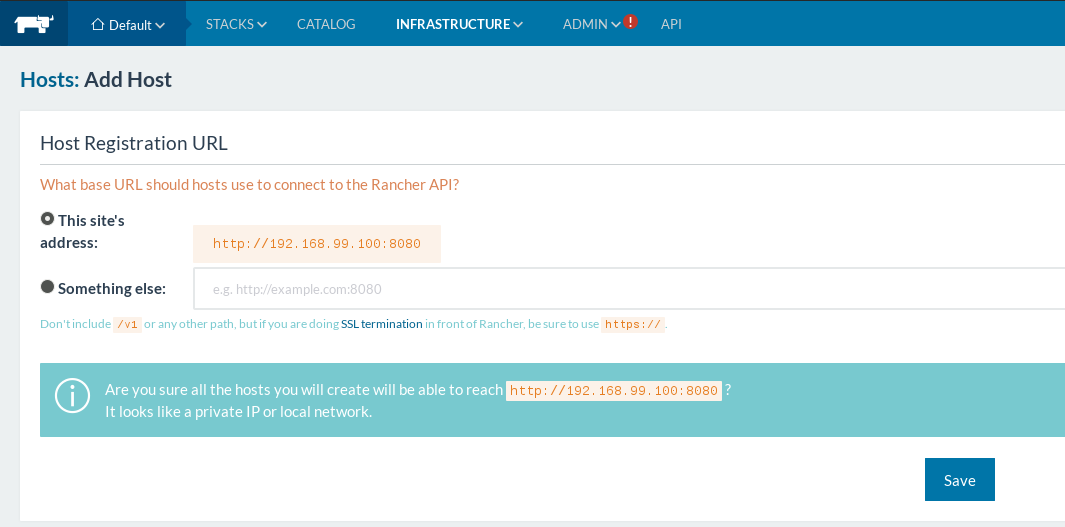
Let’s go back to the web interface and click “Add Host”.
You will be asked what the API URL will be - for the purpose of us playing about with RancherOS on Docker-Machine we will just keep it the default (over HTTP)
Again, we are going to run with the defaults for adding a host. Copy the command at the bottom of the list to paste into our Rancher Hosts to register the host.
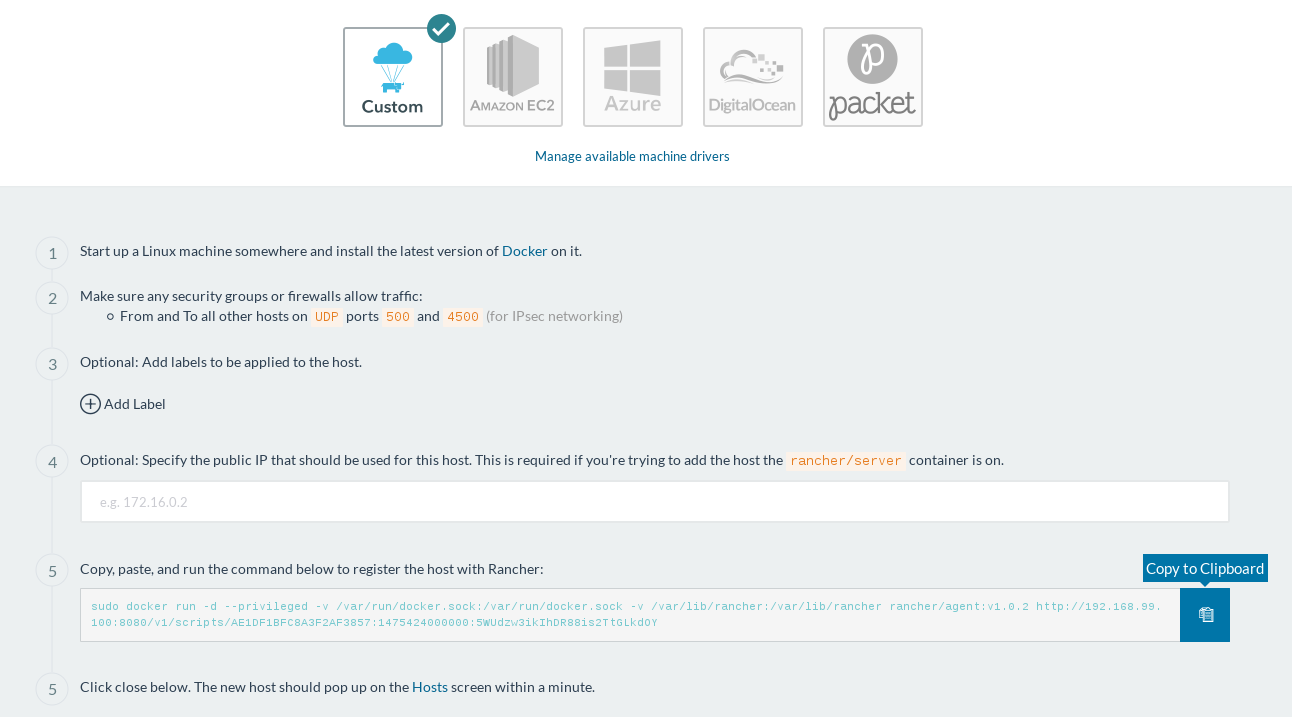
Now we can paste this into our Rancher Hosts. To SSH into the machines simply run:
docker-machine ssh RancherHost001
… and paste the command from Rancher. Repeat all the above steps for RancherHost002.
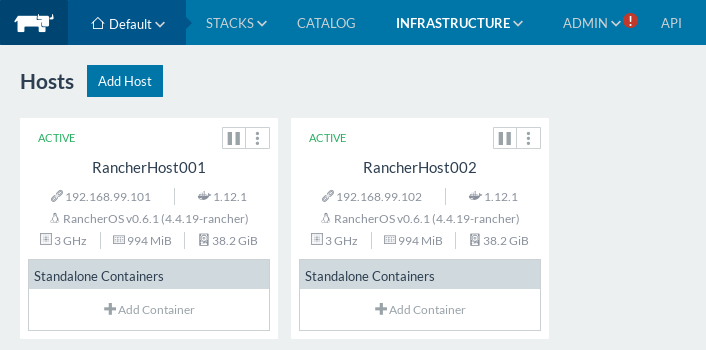
Once Rancher Agent has been installed you should see your new machine being initialized in Rancher’s Web Interface by going to Infrastructure > Hosts.

Running a Stack
Let’s try out our first stack to make sure it’s all working. In this exercise we will just pull MongoDB from the catalog and see it running on our hosts.
Click “Catalog” then click “View Details” on the MongoDB stack.

Let’s keep the defaults and hit “Launch”, this is just a test.
Once all the containers in the stack have launched you shall receive a notification to say the stack is active.

Monitoring your stack
Go to “Stacks > All”.
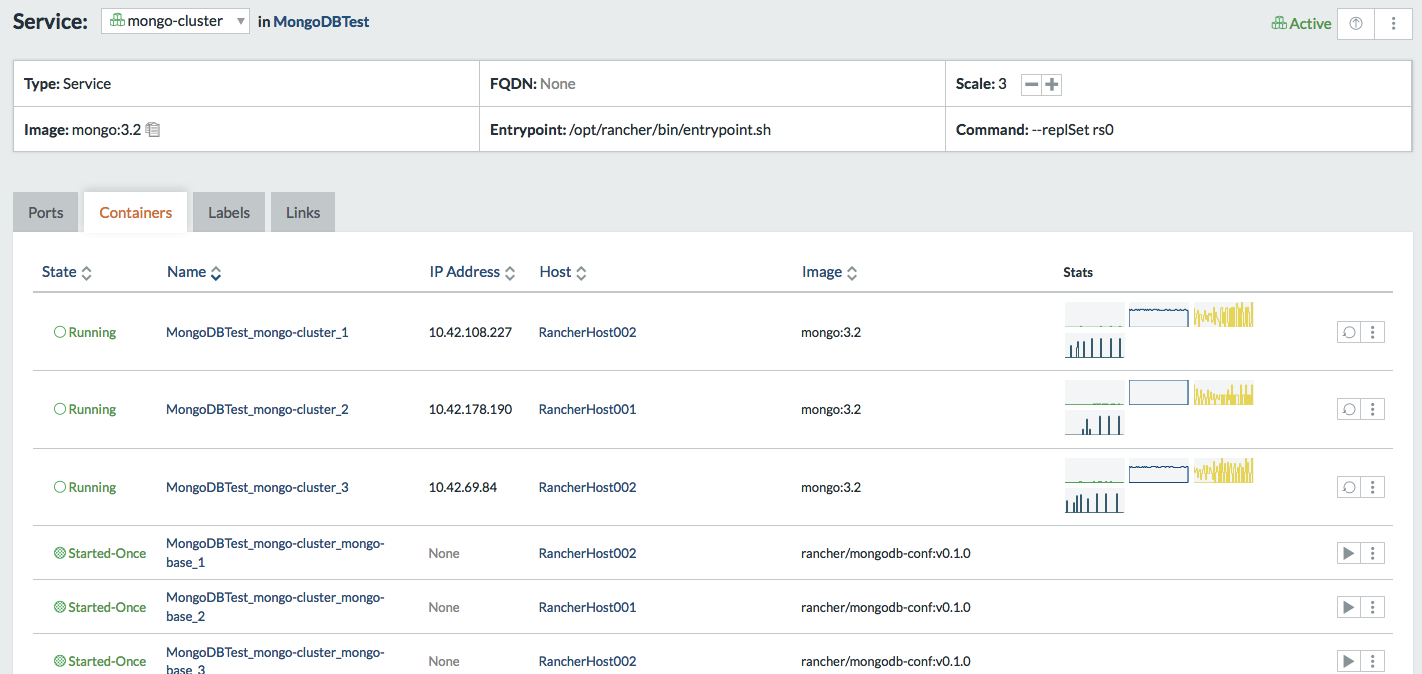
Clicking on the “mongo-cluster” link will show you in-depth information about the networking and resources used for your MongoDB Cluster containers on your hosts.
Just as a note, a MongoDB cluster would ideally have Docker hosts minimum (1 container per host), we are using 2 hosts because of our limited resources.
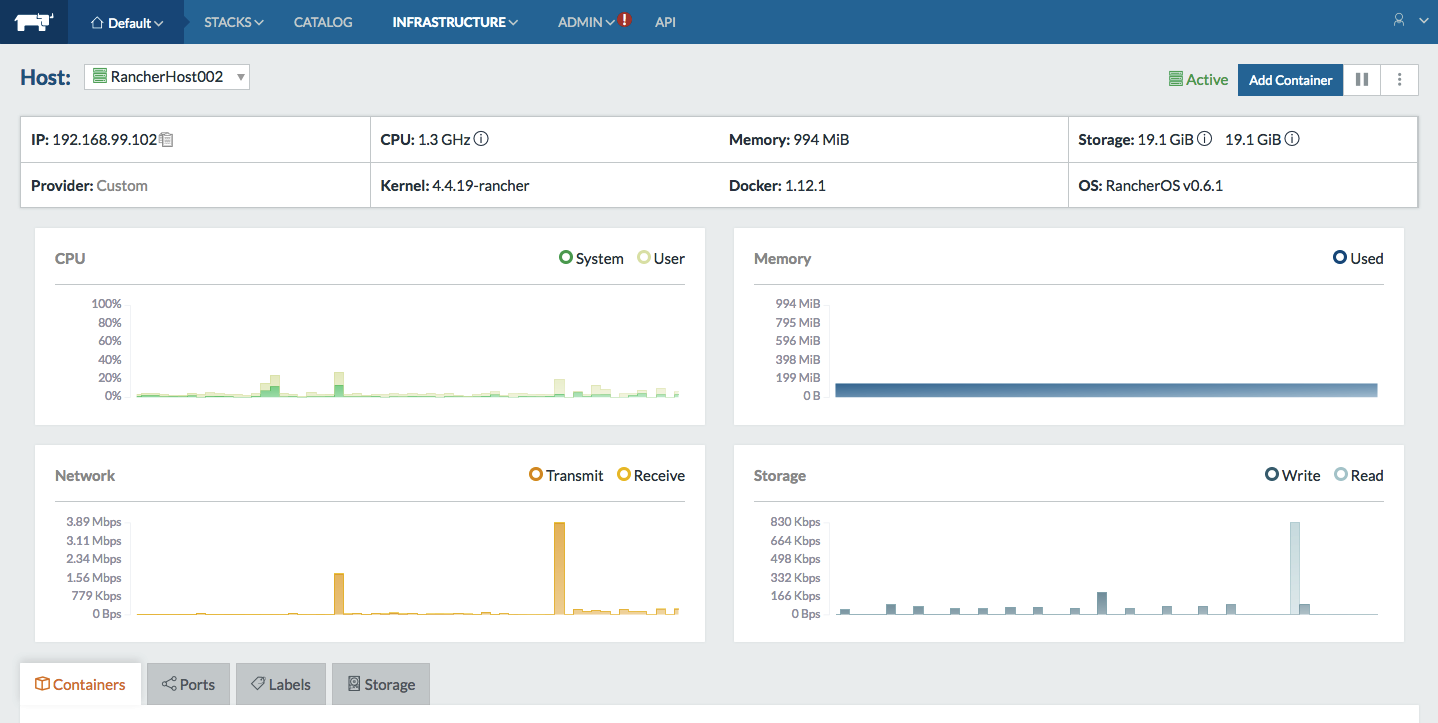
Another useful view is the host view, (Infrastructure > Hosts) - this will show you the distribution of your containers among your Docker Hosts.

Clicking on the host will show you the consumption of resources:
Sources: http://docs.rancher.com/rancher/v1.2