
Why EFS? Well, despite being 3x more expensive than Elastic Block Volumes, EFS is sharable between EC2 instances and it is literally Pay As You Go (PAYG), no over-provisioning in sight.
So for that NAS like experience without the need to buy hardware, EFS would sound like a winning solution. Unfortunately at the time of writing this (September 2016) it is not yet possible to directly mount EFS outside of your Amazon VPC.
This may change but for now there are three possible workarounds…
- “Forget EFS, use S3 - it is cheaper!" - This is true, S3 is a lot cheaper but it does come with some drawbacks. It’s object storage, not block storage, and the FUSE mounts for S3 are slow.
- “VPN into your VPC (Virtual Private Cloud)" - This will probably work, I guess, but a VPN can cost a pretty penny depending on the amount of data being transferred.
- “Use an EC2 running HAProxy to Reverse Proxy to EFS” - This is what we are going to explore. Why? Well, this one is probably going to be the easiest and cheapest way to access EFS outside of your VPC. Y’know, until Amazon bring it to market.
So let’s explore this realistically.
Note: This will not work for people running Microsoft Windows, sorry guys! It’s a *NIX kind of thing.
Security Note: This method relies on controlling access to the EFS by IP address in security groups. If you want something a lot more secure you are probably going to want to go down the route of VPN into your VPC.
Fire up the EC2!
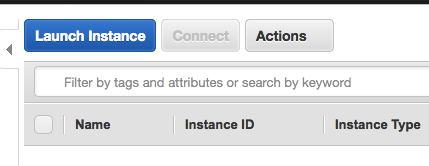
Right, let’s start by launching an instance! Click the magic blue button!
I’m going to be fairly unoriginal and run an Amazon Linux AMI. Why not?

If you are just messing around then I’d select a T-Series instance - I refer to these colloquially as “Testing Series” instances. This is because they are cheap and the network performance can leave a bit to be desired but hey. I don’t have a Free Tier account so I am going to have to go for a t2.nano - you may as well go t2.micro if you still have Free Tier and want to try this out.
Remember you can always Scale Up/Down as needed.

Keep all the defaults for your EC2 until you get to the “Security Group” section of the form.
This is the important security part. Make sure you can only connect via SSH to your instance from your IP address. Also add a new “NFS” rule, also make sure this is locked down to your IP Address. You also need another NFS rule that allows your VPC to connect.

Now you are ready to go! Make sure you select a key you either own or create a new one to download.
Hey presto, your instance should be launching!

Prepare your EC2
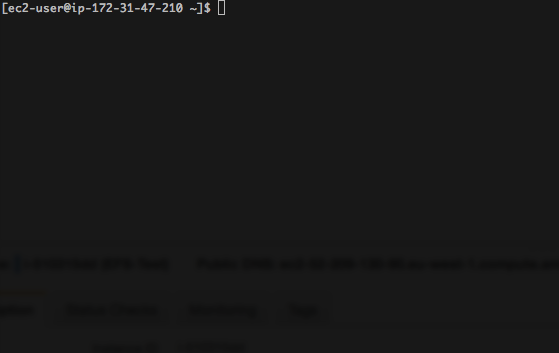
We first need to make sure the EC2 is all up to date and has everything we need installed. SSH into your server with your .pem (RSA) key file:
ssh -i path/to/key.pem [email protected]
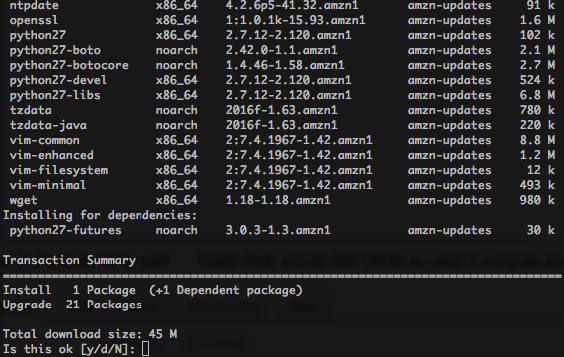
Update the Operating System:
sudo yum update
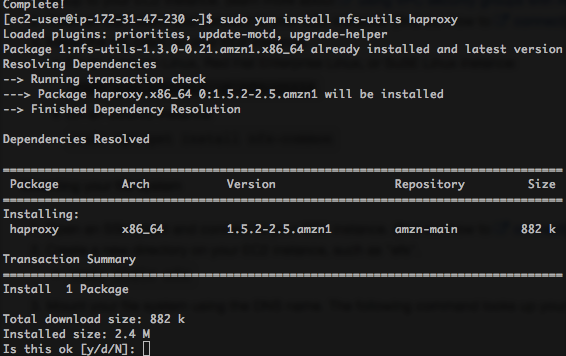
Now install HAProxy:
sudo yum install haproxy
Prepare your EFS
Go to your AWS console and click “Elastic File System”. If you do not have existing volumes you will need to create one.
Add your newly created security group to your EFS volume in all of the VPC Availability Zones in your region.
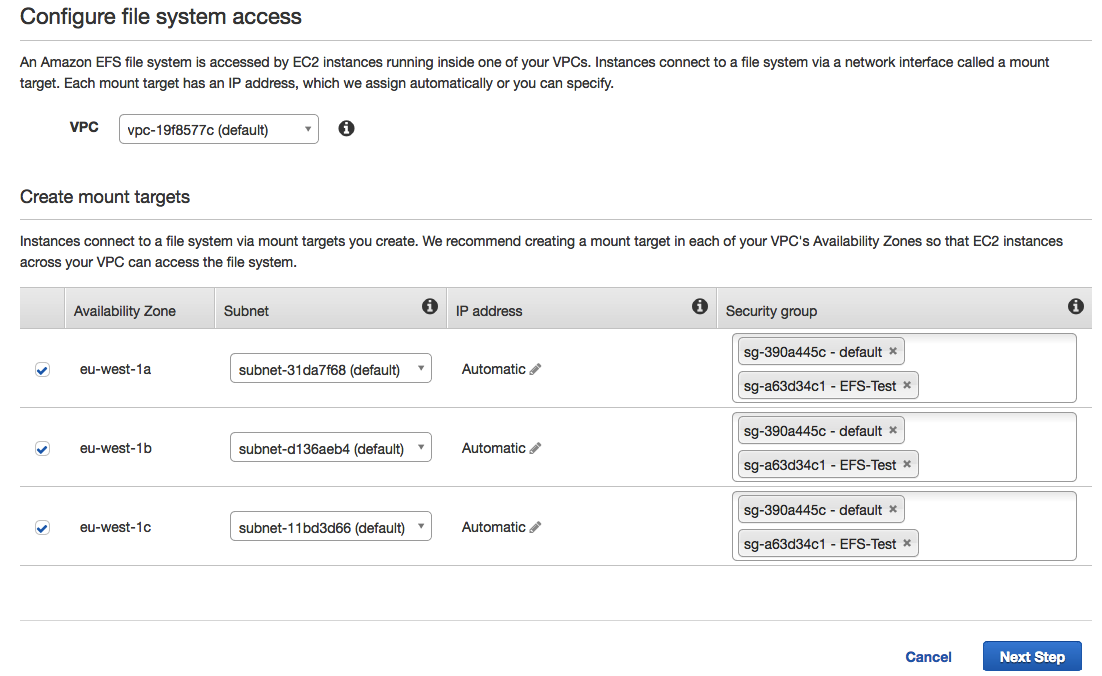
When asked, select General Purpose I/O.
Success we have an EFS volume!
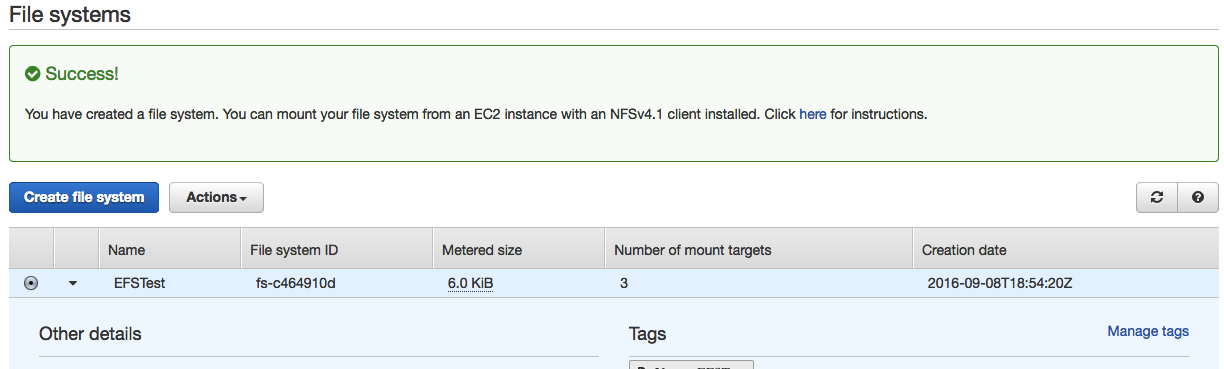
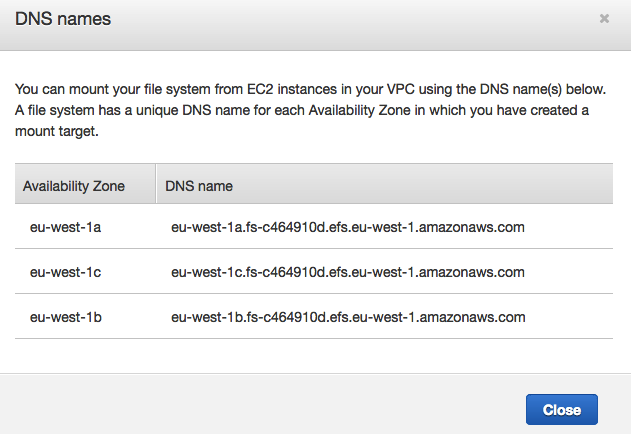
Clicking the EFS volume will give you the ability to discover your DNS Endpoint names. Keep a record of these as you will need them.
Configure HAProxy
First thing is first, keep a copy of the HAProxy default configuration handy. You may want/need it again in the future.
sudo cp /etc/haproxy/haproxy.conf ~/haproxy.conf.backup
Next, edit your /etc/haproxy/haproxy.conf file, configuring it as a TCP reverse proxy:
sudo vim /etc/haproxy/haproxy.conf
Below is a sample config that works, remember to replace your DNS endpoint names:
global
    log 127.0.0.1 local0 notice
    maxconn 2000
    user haproxy
    group haproxy

defaults
    log     global
    mode    tcp
    option  tcplog
    option  dontlognull
    retries 3
    option redispatch
    timeout connect  5000
    timeout client  10000
    timeout server  10000

listen efs 0.0.0.0:2049
    mode tcp
    option tcplog
    timeout tunnel 300000
    server eu-west-1a eu-west-1a.fs-c464910d.efs.eu-west-1.amazonaws.com:2049
    server eu-west-1b eu-west-1b.fs-c464910d.efs.eu-west-1.amazonaws.com:2049
    server eu-west-1c eu-west-1c.fs-c464910d.efs.eu-west-1.amazonaws.com:2049
Once you have finished editing, restart HAProxy:
service haproxy restart
Mounting your EFS volume.
As mentioned, you can’t mount your EFS volume on Windows. I also had no luck mounting this on a Mac.
I created a directory to mount on:
mkdir /mnt/efs
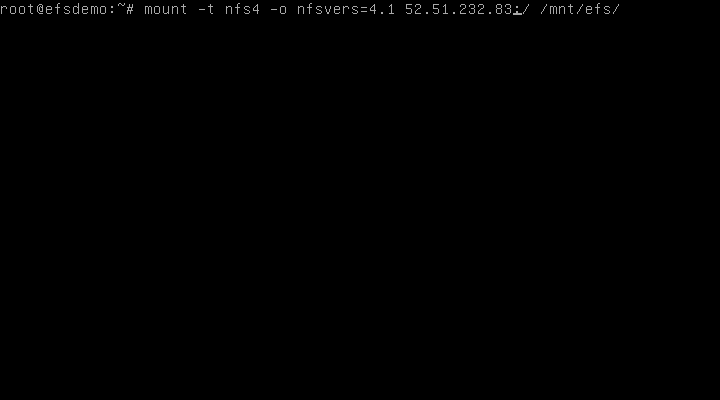
You want to mount this as an NFSv4.1 mount:
mount -t nfs4 -o nfsvers=4.1 your.ec2.ip.addr:/ /mnt/efs/
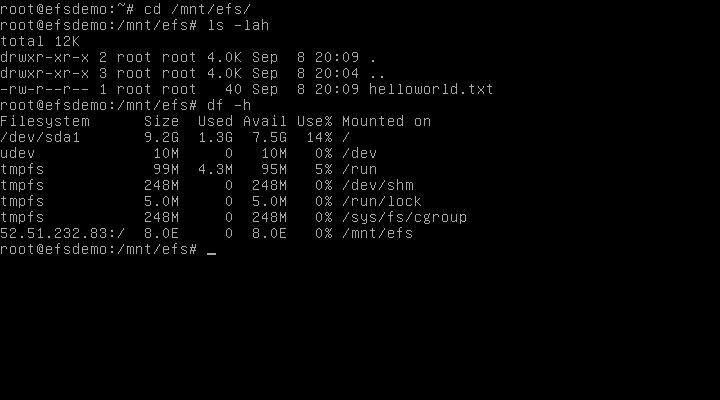
You can check the mount by issuing:
df -h
You’ll see something like this if successful.
Enjoy!