
I revived a brand new MikroTik routerboard through the post recently; an RB2011U series router to be specific. My goal for using this router is to better manage my home network, VPN connections and the guests who come into our home. The last point is fairly important to me as I want to create a guest WiFi network to isolate visitors from the rest of the network, BYOD is the acronym for “Bring Your Own Disaster” after all.
This small walkthrough is perhaps a bit uncharacteristic of the way I work as I am utilizing the Winbox GUI application rather than configuring the MikroTik over SSH. Other tutorials may be done over SSH as this is my favourite way of working.
Let’s begin with outlining what the Guest Wireless network needs to do.
- Be the WiFi AP given out to guests.
- Provide guests with access to the internet.
- Place guests on a different subnet to residents
- Isolate guest devices from resident devices (such as the NAS).
This guide assumes there is a pre-existing configuration on the router. On my router we have 10.0.0.0/16 as our resident network - WAN comes in on ether1-gateway. Wlan1 is configured as our main wireless access point - the SSID is hidden so that the guest network is the only visible wireless network.
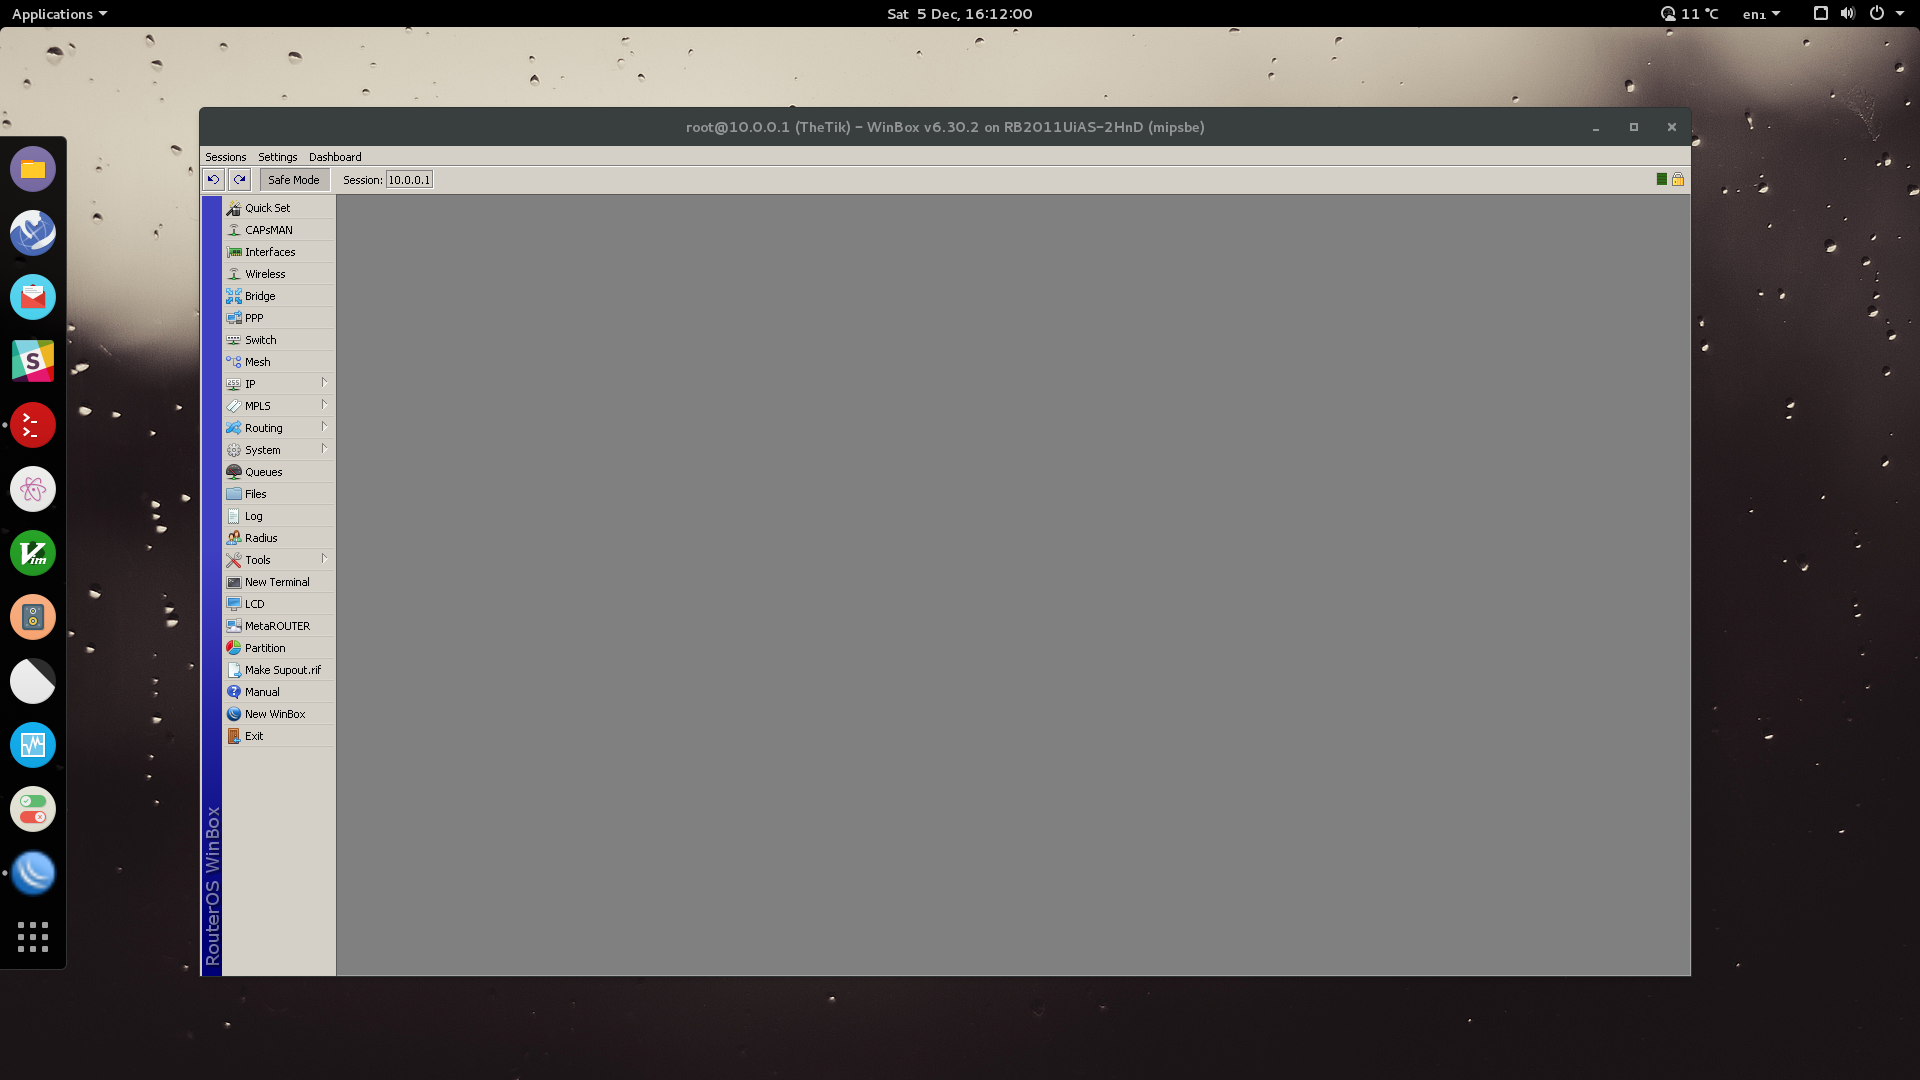
So let’s start. First up, load up winbox.exe. Here I am using Debian Linux, winbox.exe run’s AOK in Wine. Connect to your router. First thing’s first, put the router into safe mode (just in case we do something stupid and lose connection to the router).
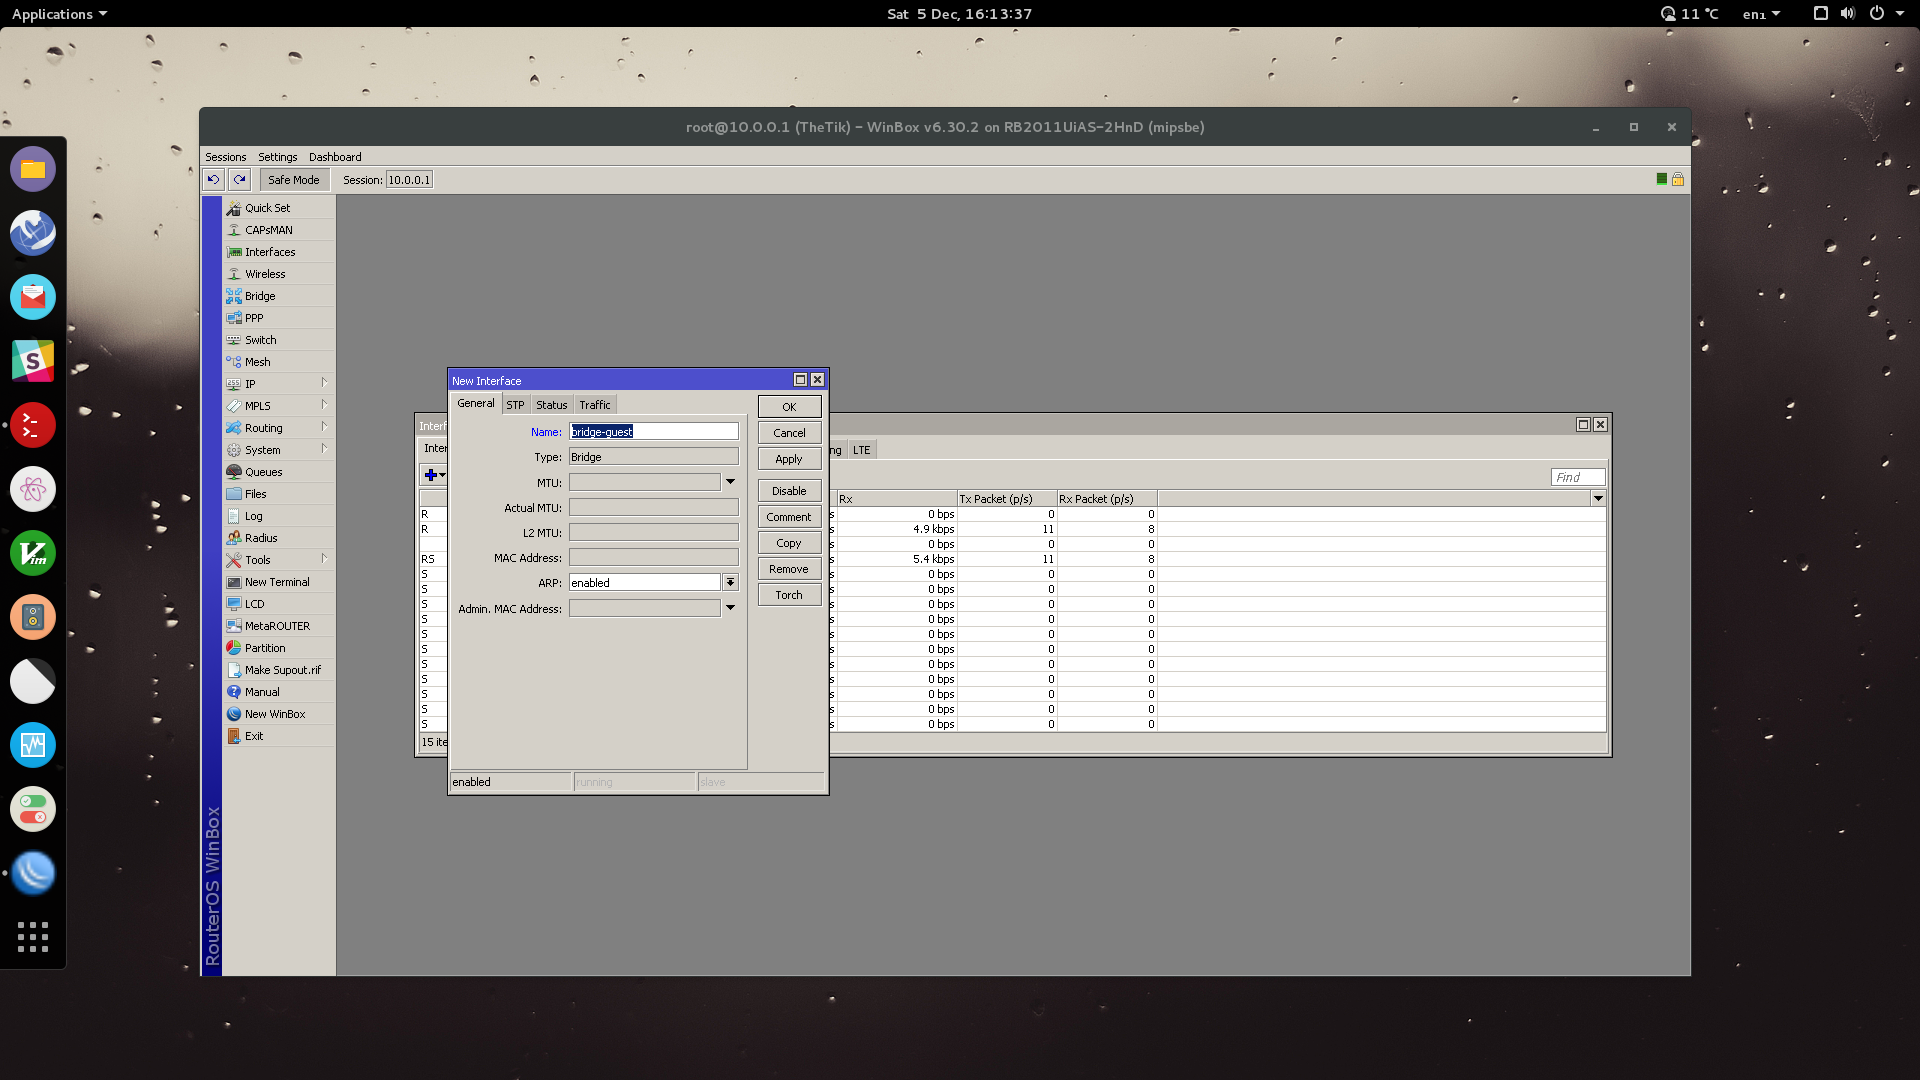
Let’s kick off the configuration with setting up a new bridge. This will be used for connecting our isolated guest network to the correct ethernet port on the router.
Go to Interfaces: Add > Bridge.
Name your bridge something appropriate. Click OK.
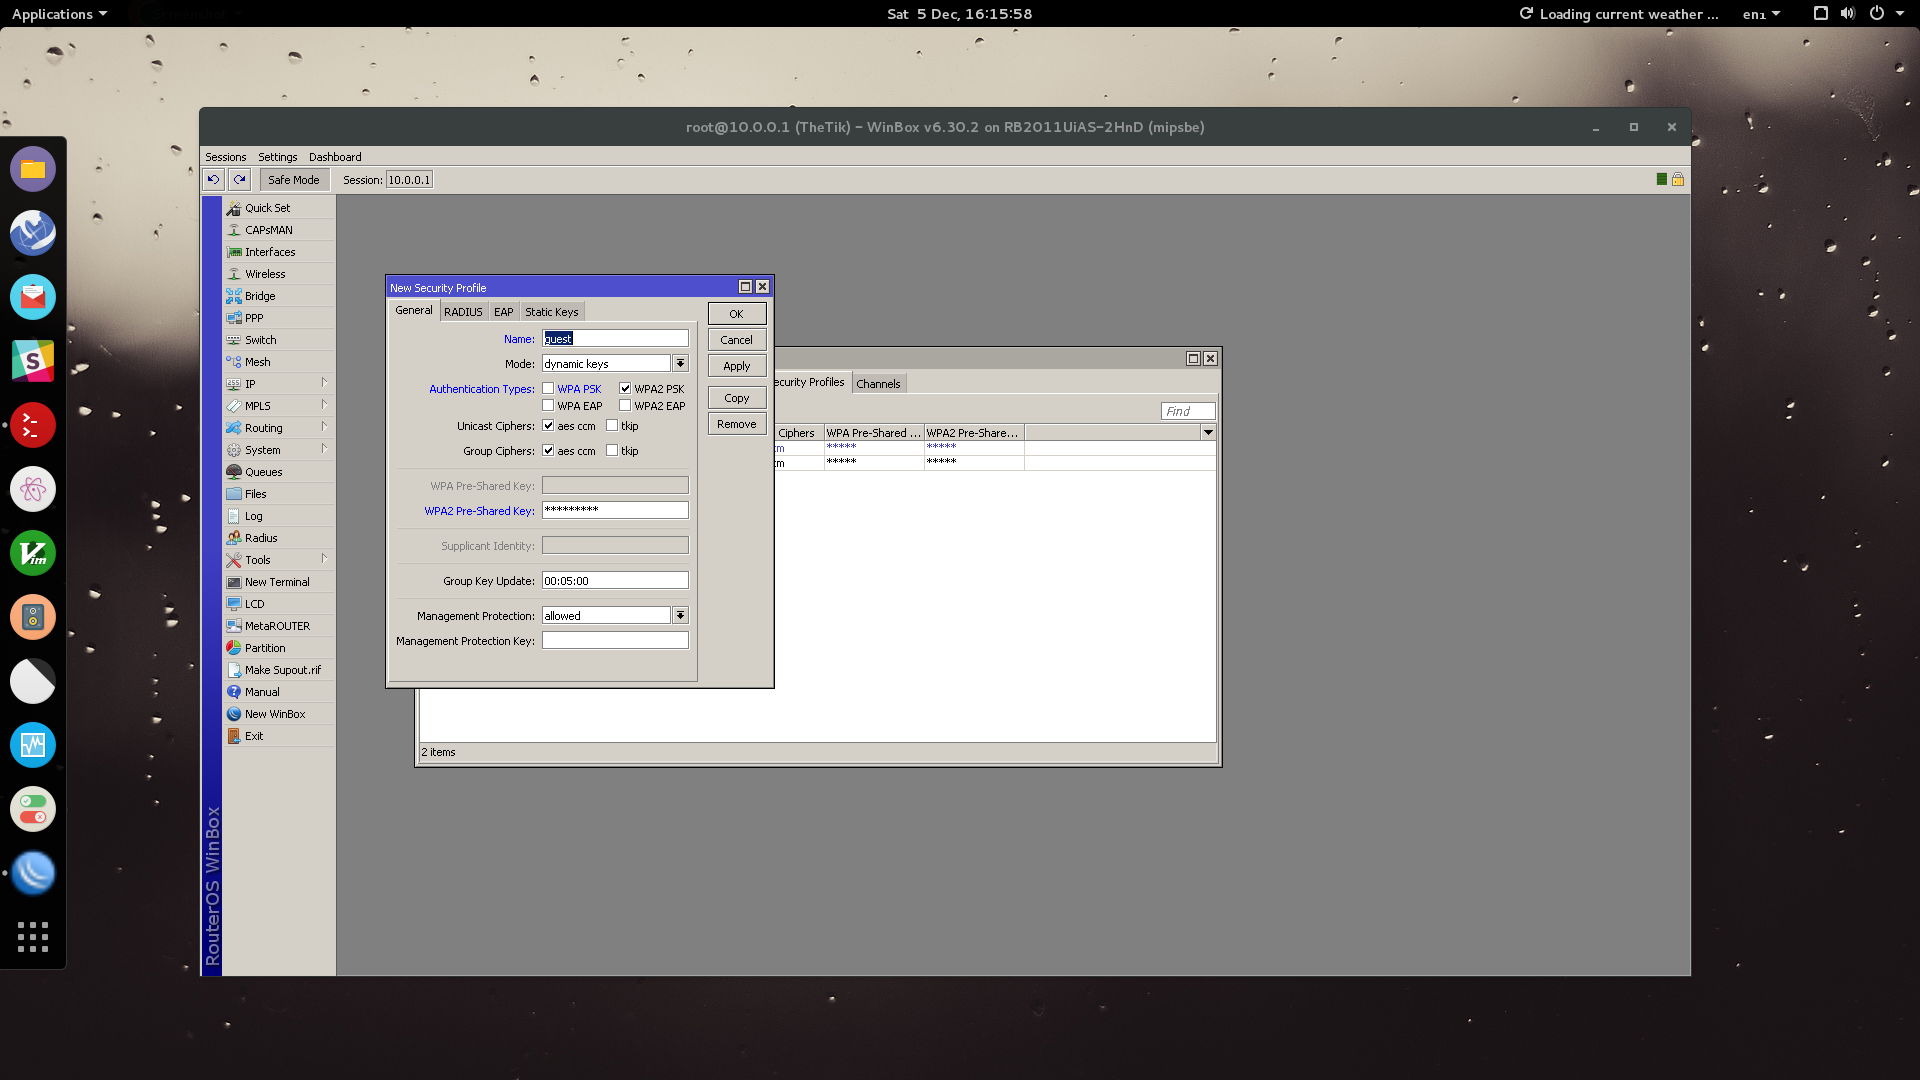
Now we need to set up our Virtual Access Point for our guest network. We first need a securtity profile (basically the authentication settings for our WiFi).
Go to Wireless > Security Profiles > Add.
Name your security profile something appropriate, use WPA2-PSK using AES. Set the Pre-Shared Key to the desired password for your Guest Network WiFi. Click OK.
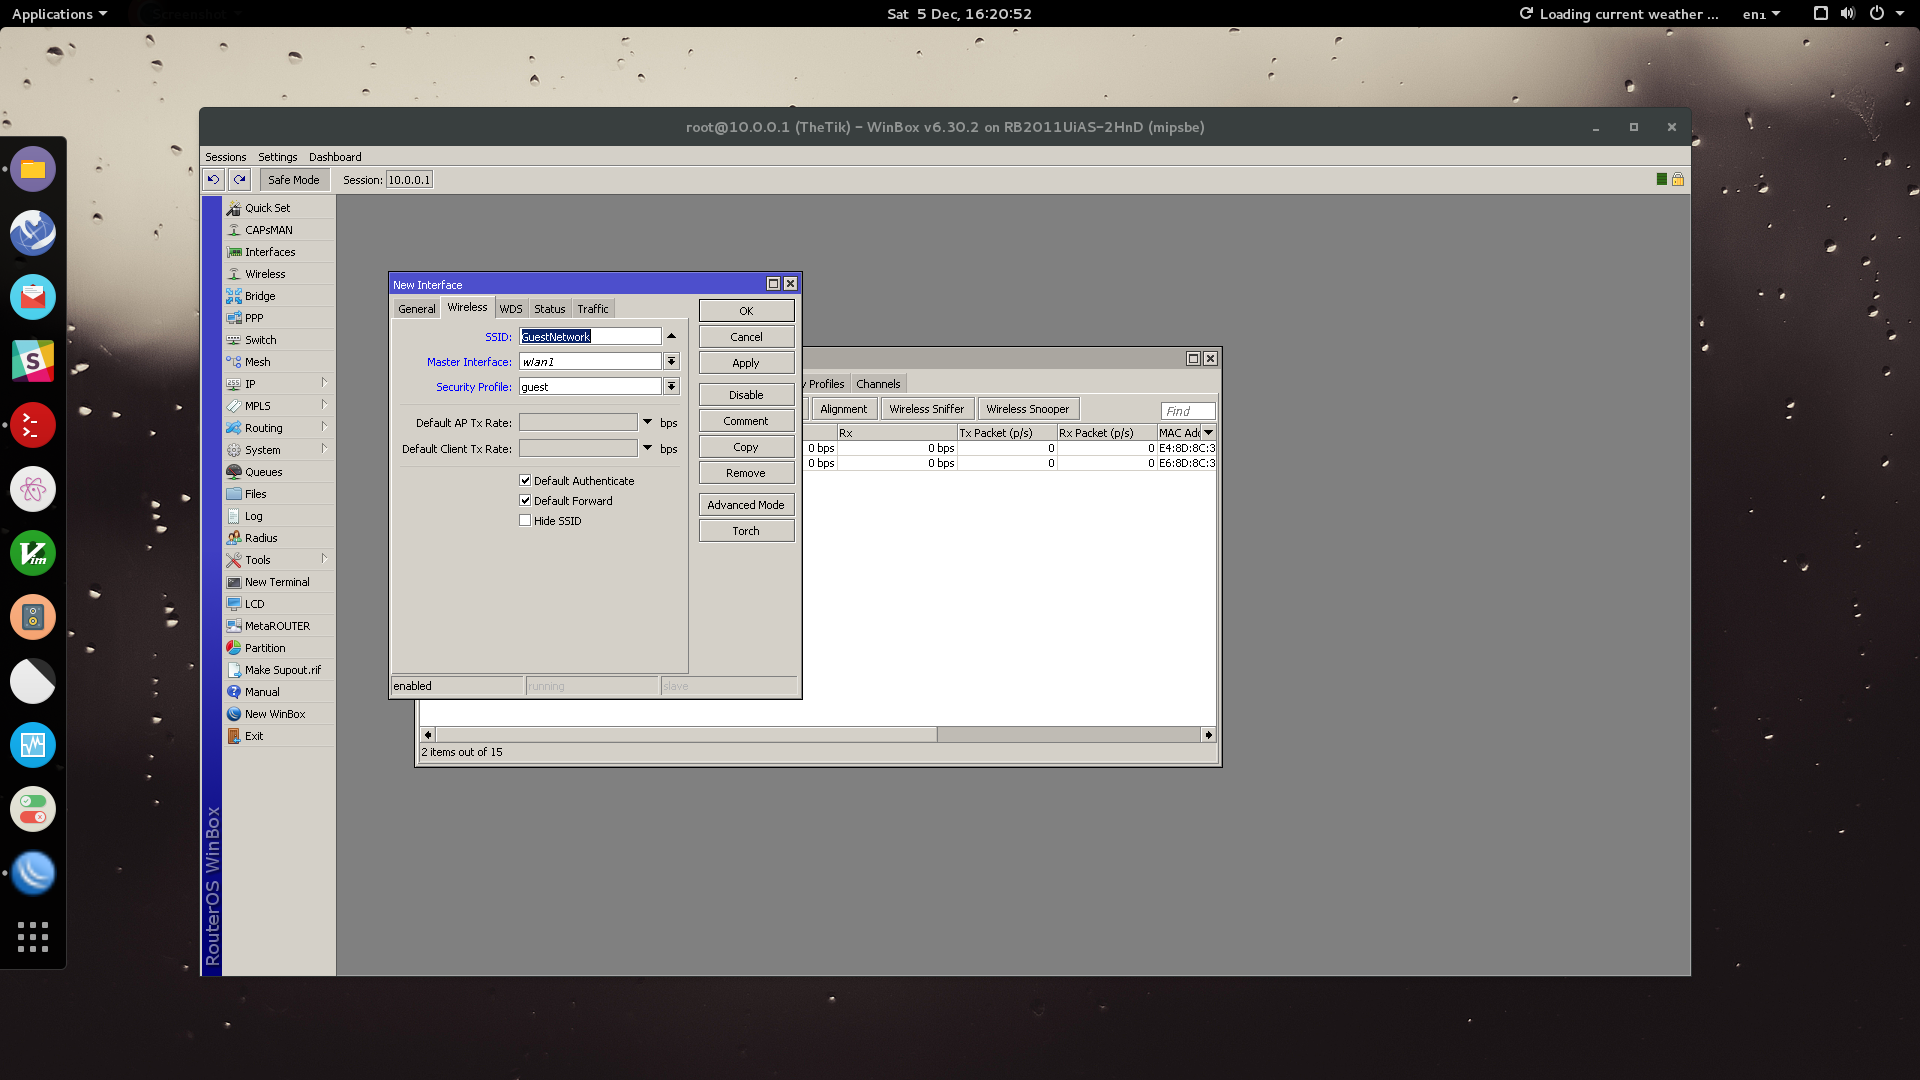
Now, create your Virtual Access Point Interface.
Go to Interfaces > Add > VirtualAP > General Tab
Name the interface something sensible, eg. “Guest-AP”. Proceed to the Wireless Tab.

Under the Wireless Tab, set the SSID, Master Interface (wlan1) and associate your Security Profile that you created above.
Proceed to the WDS tab.
Under the WDS tab, select your guest bridge created earlier. Click OK.

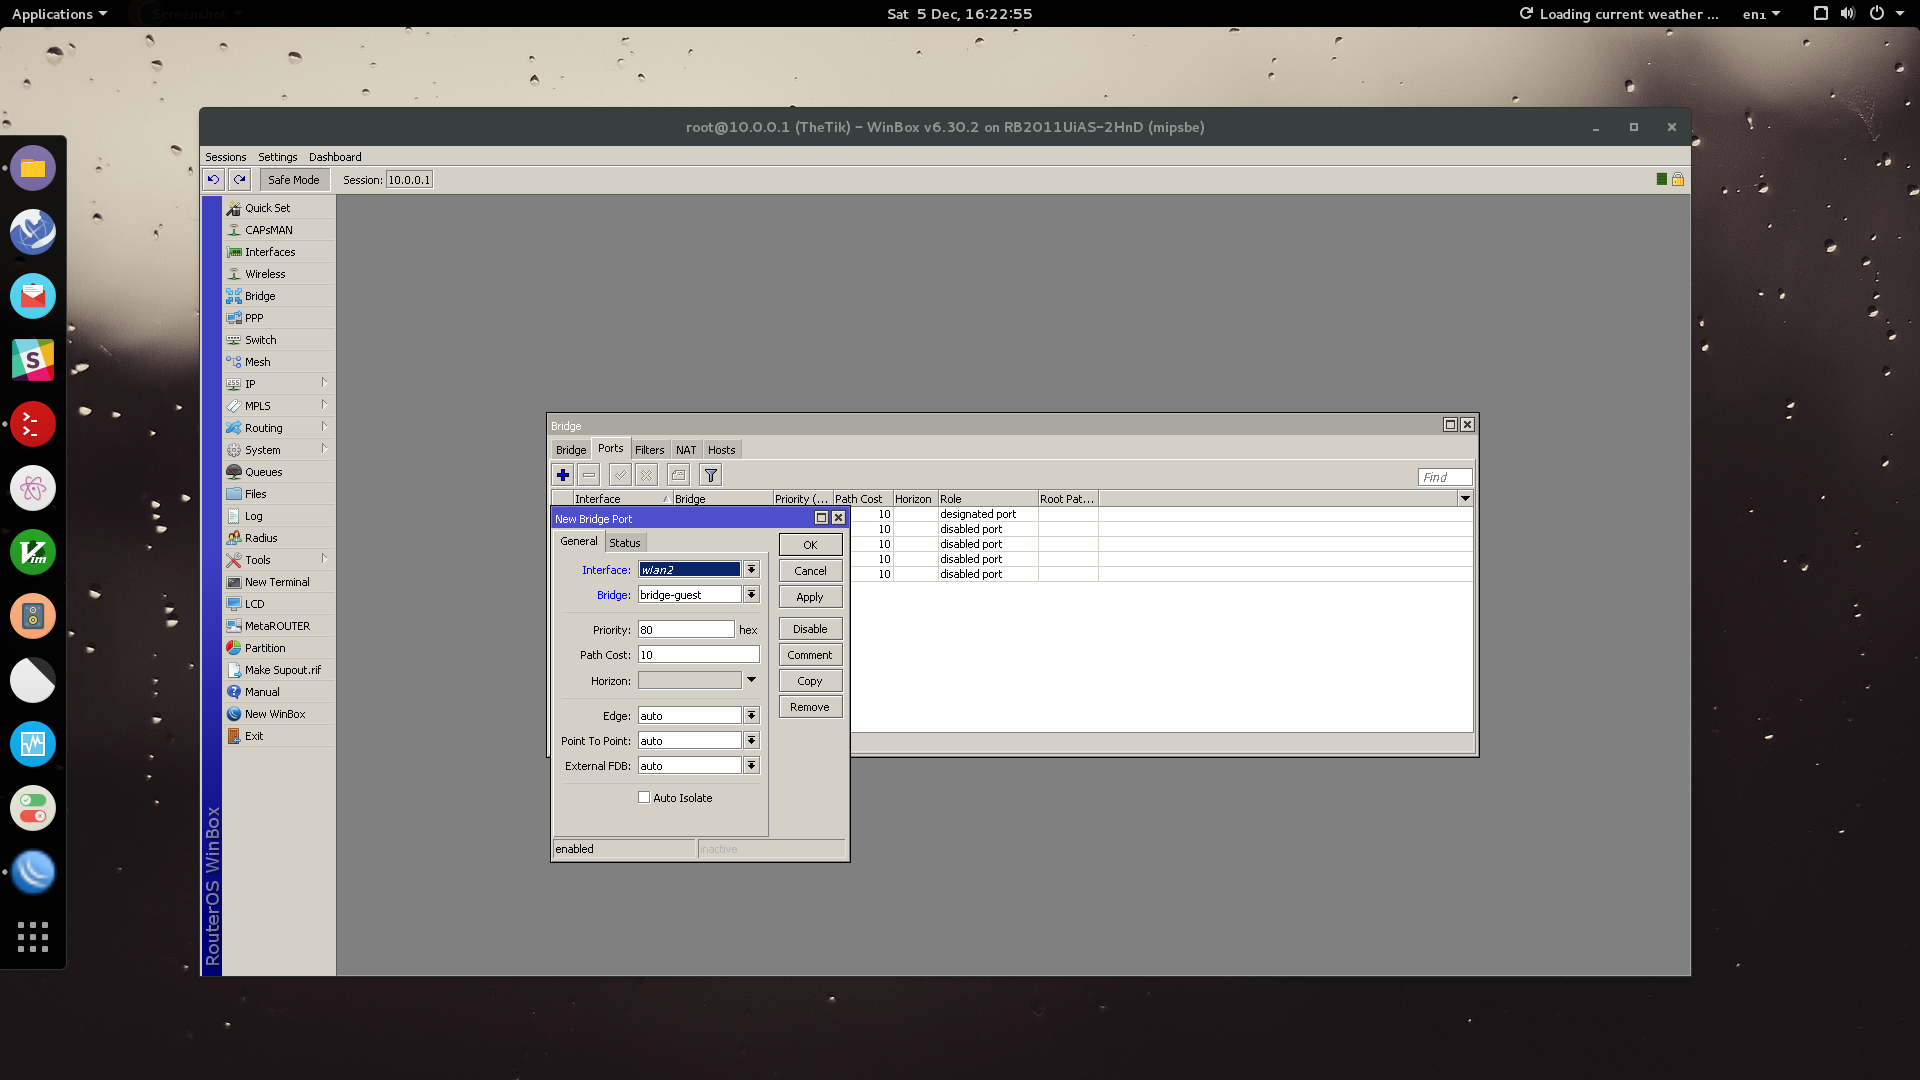
Let’s continue on to create a bridge port. Think of this as associating the virtual AP interface with the guest bridge we created.
Go to IP > Bridge > Ports > Add
Select your virtual AP interface and your guest bridge. Click OK.
We now need to associate a list of IP addresses to our guest bridge.
Go to IP > Addresses > Add
Enter your address subnet that you will associate with your guest bridge. In my example I am using CIDR 10.1.0.1/24 for my guest network. For this my network is set to 10.1.0.0 and my interface is the guest bridge.
Click OK

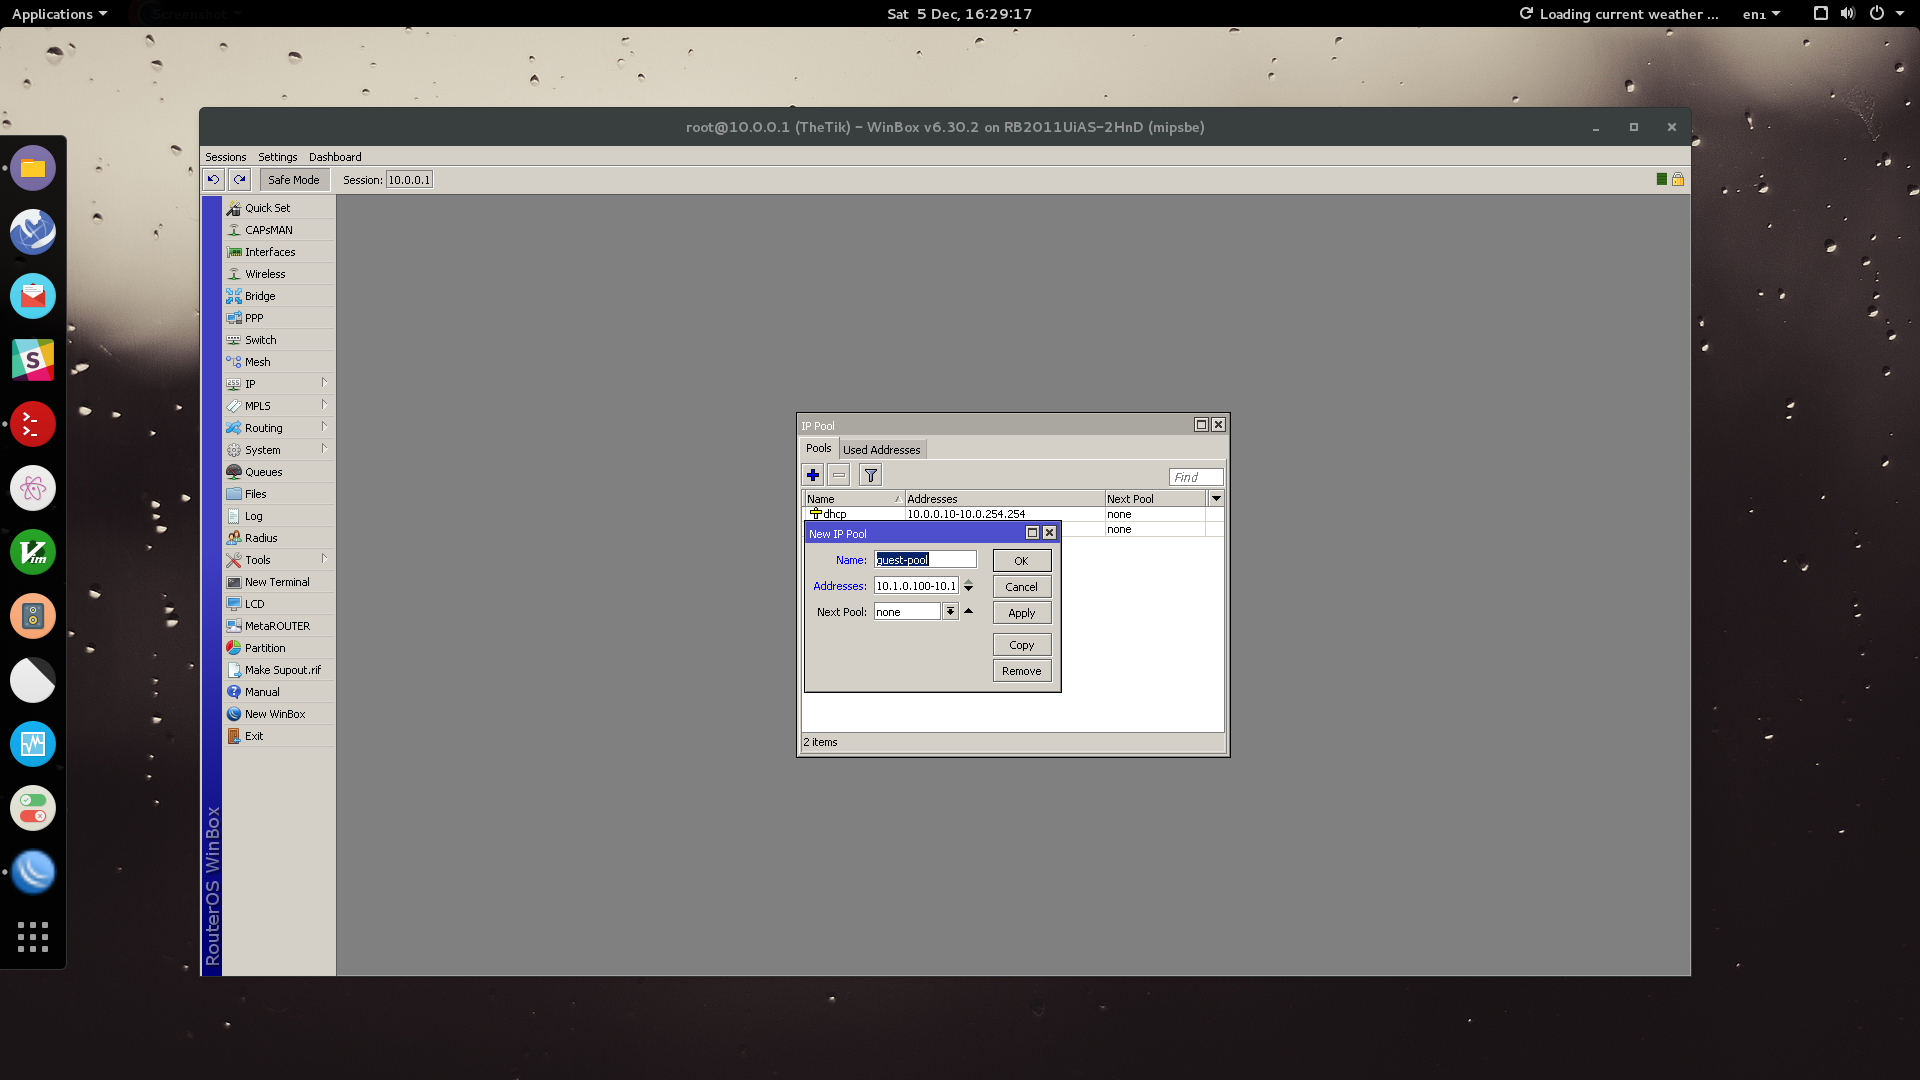
We now want to pool these IP addresses for a DHCP server in our guest network.
Go to: IP > Pool > Add
Name your pool and enter the range of addresses. Eg. 10.1.0.10-10.1.0.254
Click OK
Now to create our DHCP server to assign these IP addresses to our connected devices.
Go to: IP > DHCP Server > Add
Name your DHCP Server, associate your guest brige interface to the DHCP server then select your guest IP pool to the server. Click OK.

Under the Network tab of the DHCP Server configuration screen, click Add. This part is what is sent to devices connecting to our guest network.
Add our address CIDR: 10.1.0.0/24, set the gateway to 10.1.0.1 with a netmask of 24. Our DNS server sits on our router, 10.1.0.1. Click OK.

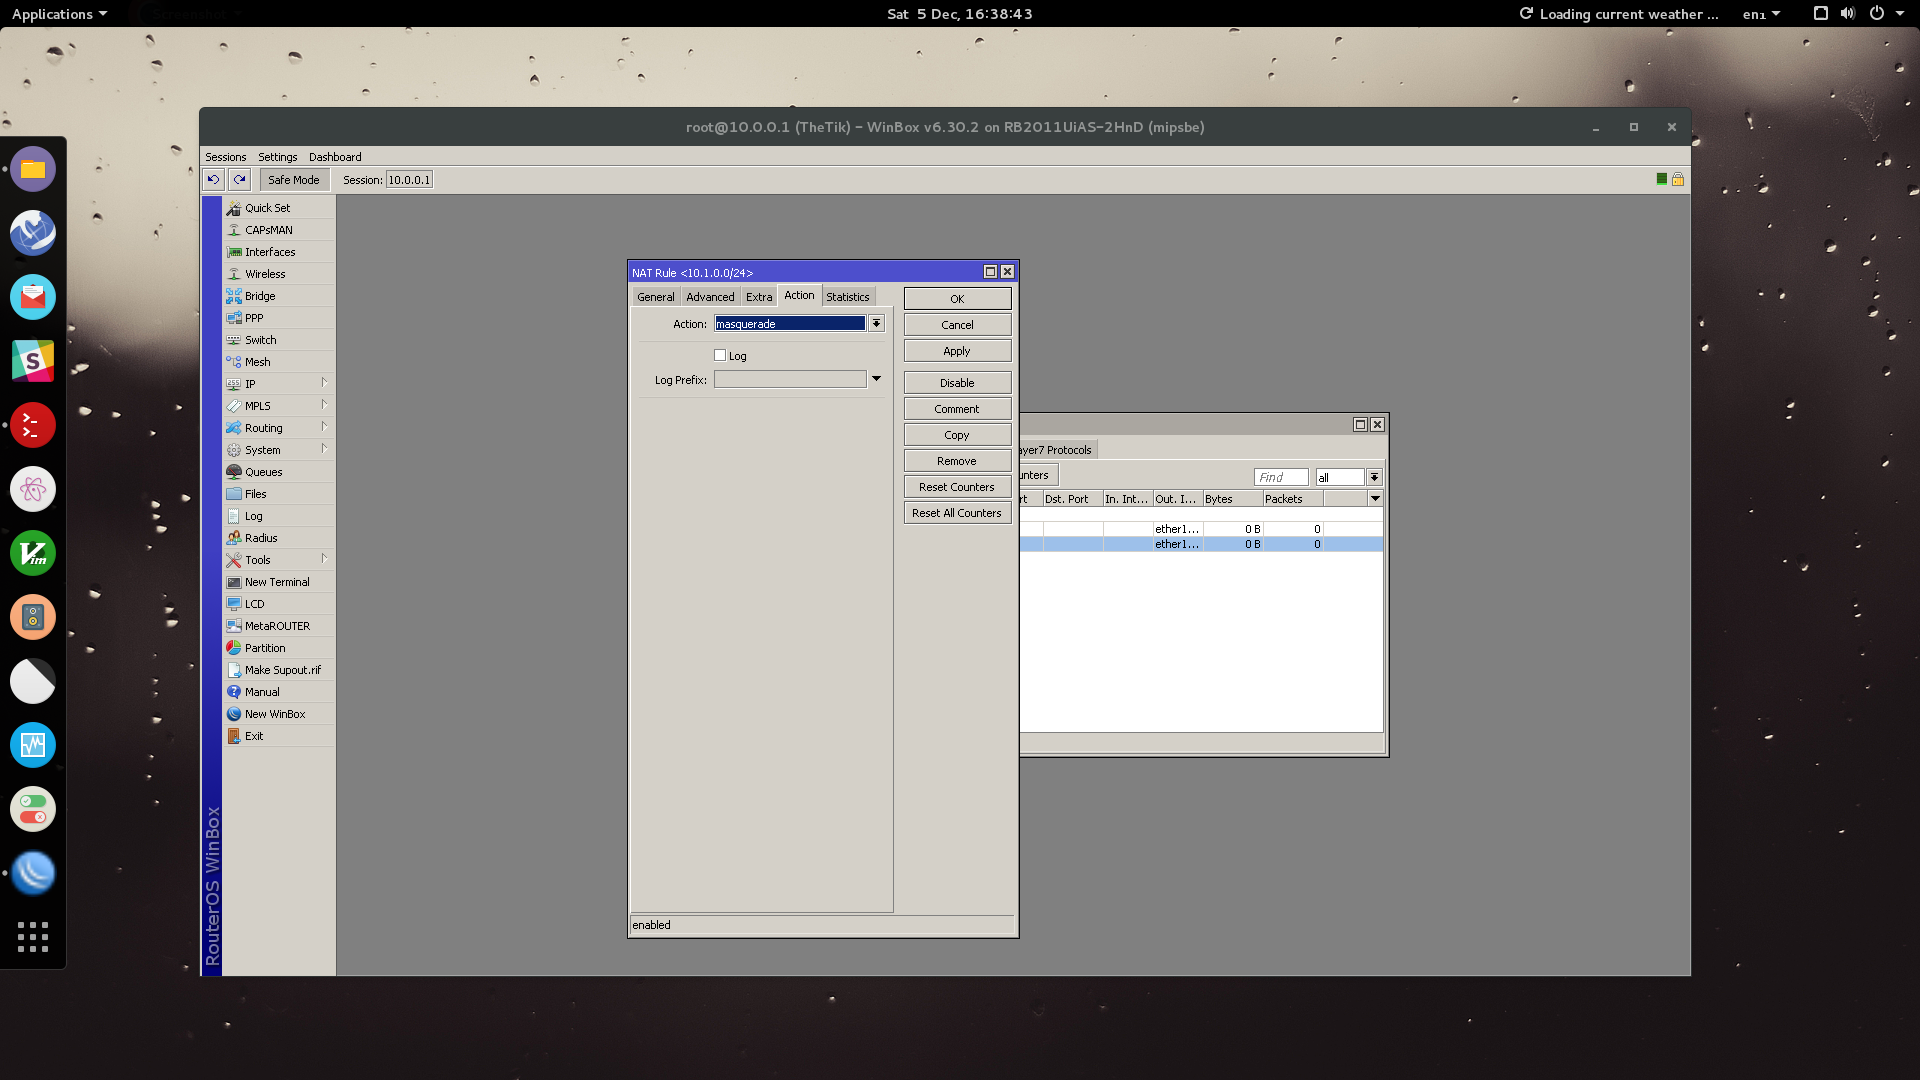
Coming to the end now, we need to set up NAT rule for our guest network.
Go to: IP > Firewall > NAT
Under the General tab set the source address to the CIDR of our guest network (eg. 10.1.0.0/24) - Set the Out Interface to ether1-gateway (our WAN port).

Under the Extra tab, set Action to masquerade.
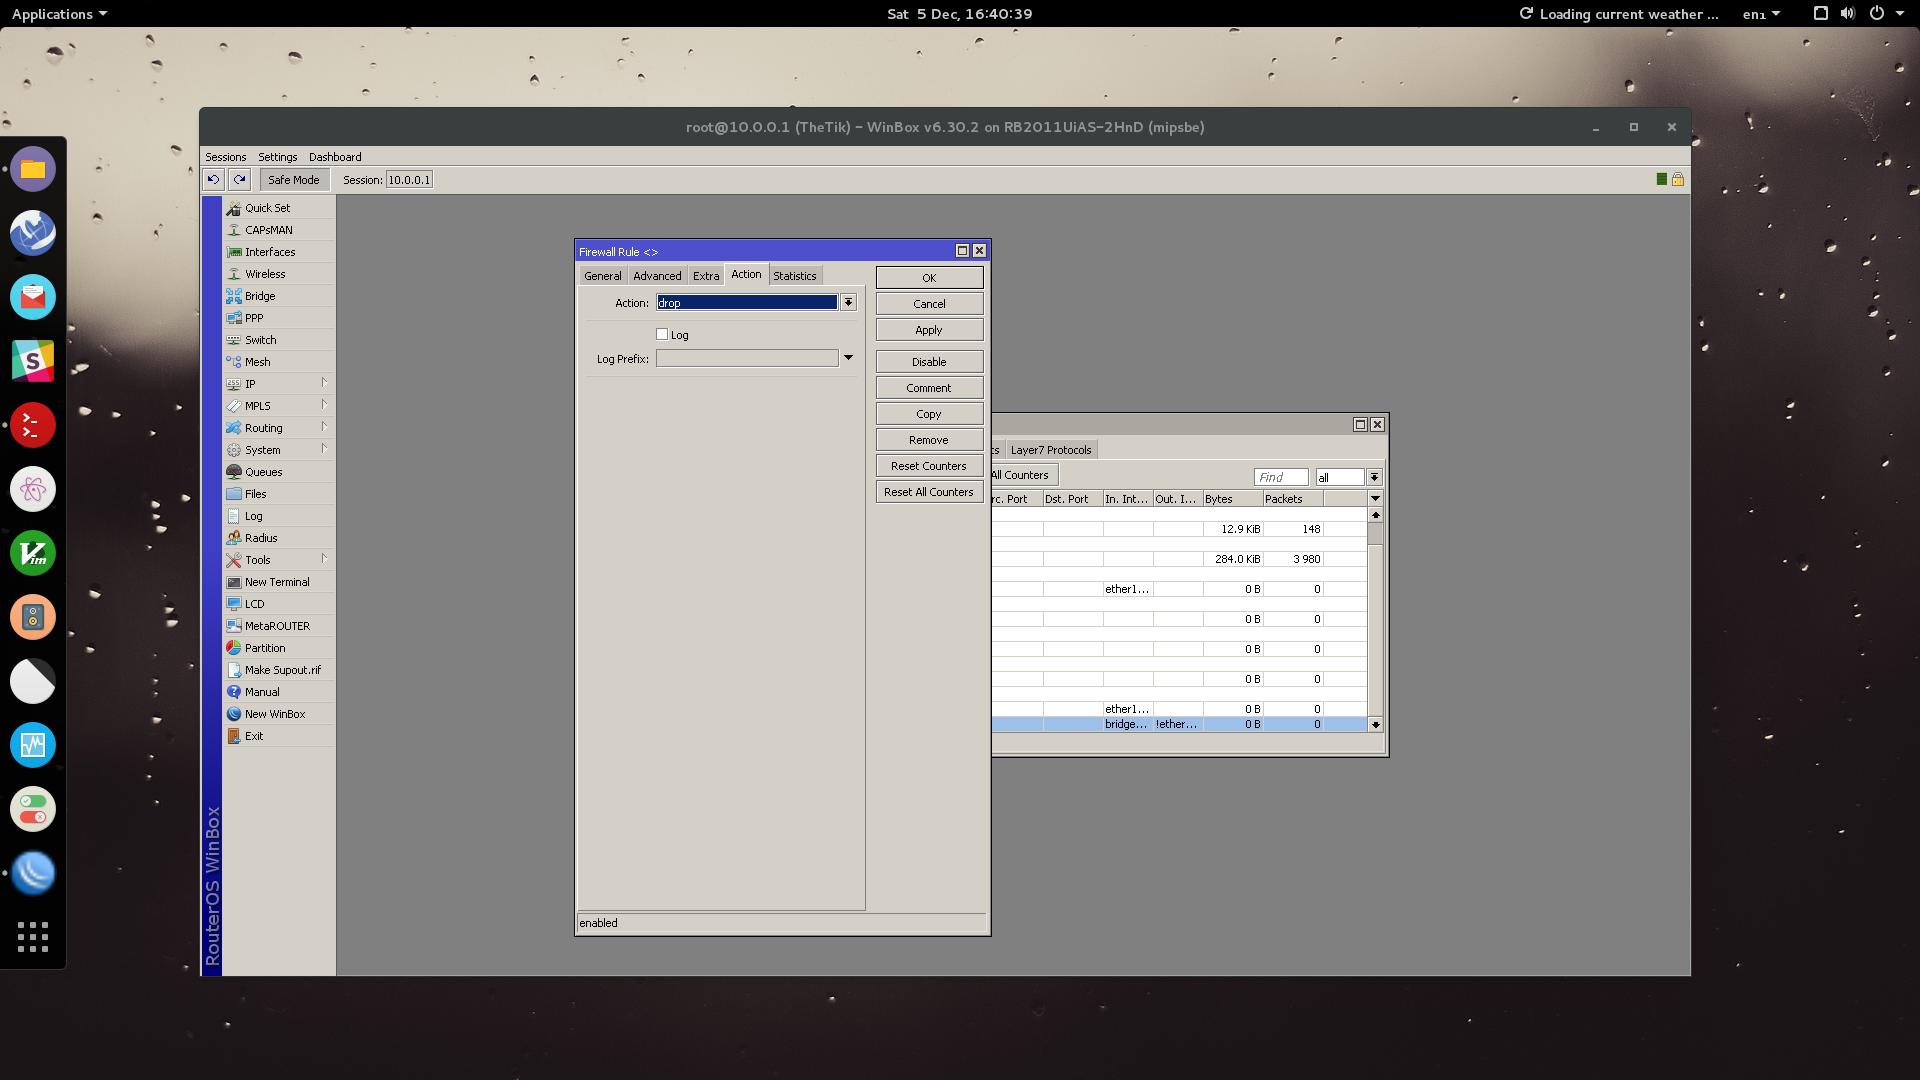
Finally, we are going to isolate the guest network from the rest of the network.
Go to: IP > Firewall > Add
Under the General tab set Chain to “forward” - Set your In. Interface to your guest bridge. In the Out. Interface, tick the “Not” box to negate the interface - set this interface to ether1-gateway. (Basically, Out Interface Not Equal to ether1-gateway).

Lastly, proceed to the Action tab and set the action to Drop. Click OK.
… and we are done.
Don’t forget to unselect Safe Mode and save. Enjoy your new guest network.